March 5, 2026 · 5 min read
Emergency Roof Repair Checklist
A severe storm, a fallen tree limb, or a sudden roof failure doesn't announce itself in advance. When it happens, you have a narrow window to minimize water damage to your home's interior — and to document everything your insurance company will want to see. This checklist walks you through exactly what to do in the first 24–72 hours after emergency roof damage.
Immediately After the Damage
Safety first: do not go on the roof during or immediately after a storm. Wet roofing surfaces and high winds are a dangerous combination. If there's active structural collapse, evacuate the affected area of the home.
Once it's safe to move around inside, check for active water intrusion. Place buckets, move valuables, and lay down towels or plastic sheeting. If a ceiling looks heavily saturated and is bulging, it may be holding gallons of water — puncture it at the lowest point to prevent a sudden ceiling collapse.
- Stay off the roof during the storm and immediately after
- Identify water entry points inside and place containment
- Relieve pressure from a bulging, water-laden ceiling carefully
- Turn off electricity in affected areas if water is near outlets or panels
- Move furniture and valuables out of wet areas
Document Everything Before Any Repairs
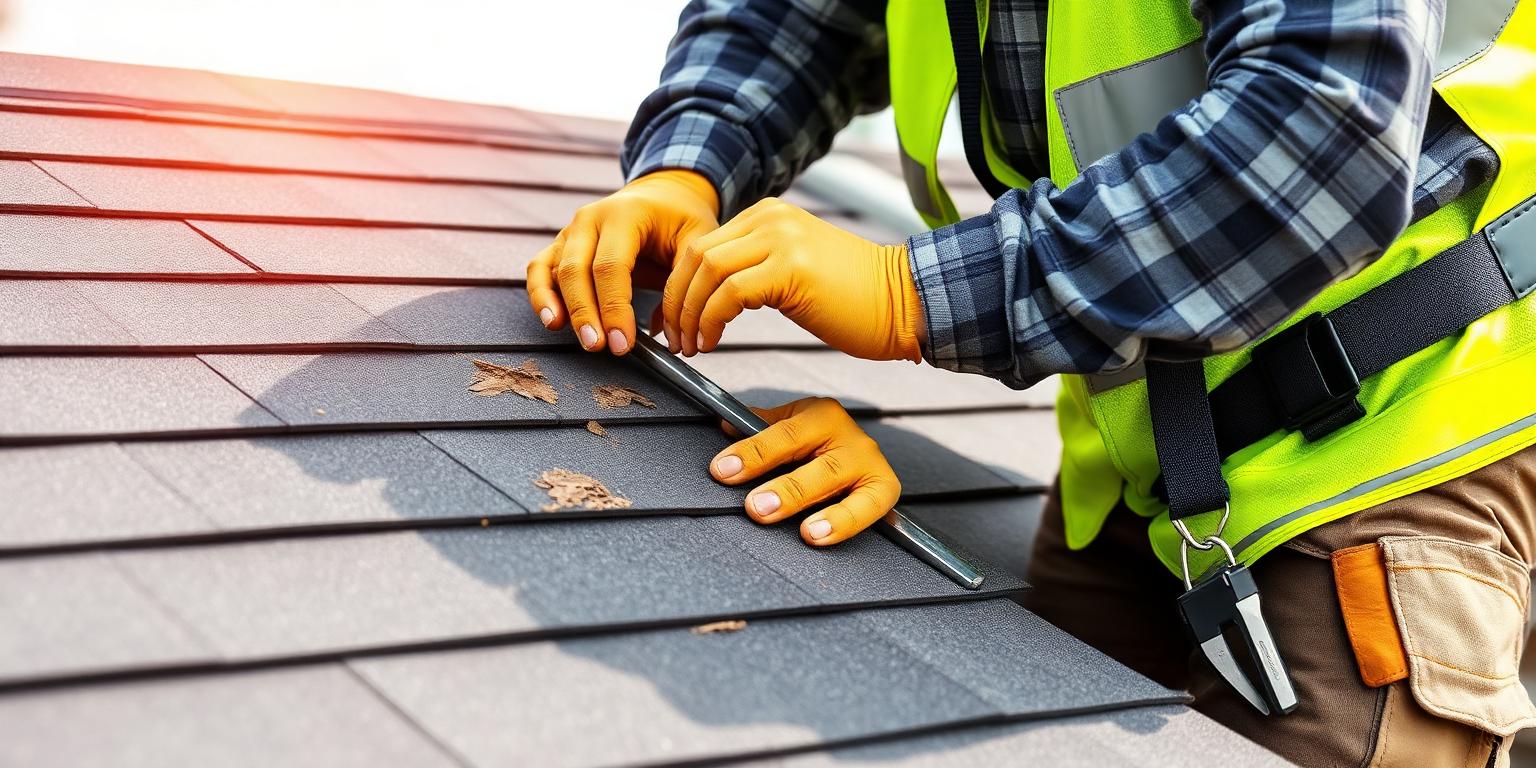
Before you do anything to the roof surface, document the damage thoroughly. Take video and photos from multiple angles — the interior leak points, the attic if accessible, the roof from ground level, and gutters, vents, and any soft metals that show impact marks.
Note the date, time, and weather conditions. If there was a NOAA storm report for your area, find it and save the link — it corroborates your timeline for the insurance adjuster.
Temporary Emergency Repairs
Temporary repairs are not just allowed under your insurance policy — they're expected. Failing to make temporary repairs to prevent further damage can actually jeopardize your claim. Save every receipt.
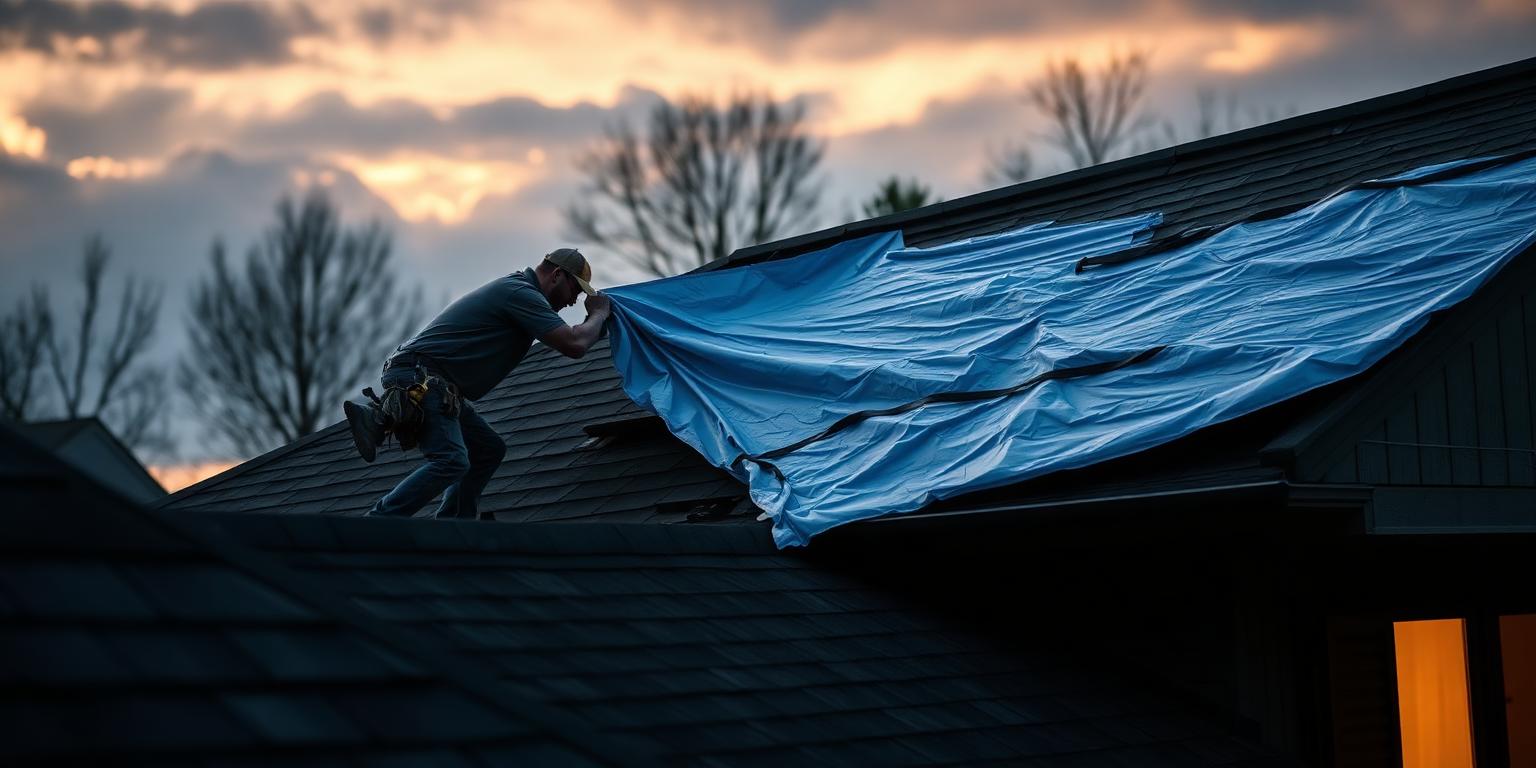
A heavy-duty polyethylene tarp (minimum 6 mil thickness) is the standard solution. Extend it at least 4 feet past the damaged area on all sides and secure it with roofing nails or sandbags at the peak. Do not use nails to fasten through the tarp into undamaged shingles if you can avoid it — those penetrations will also need to be repaired.
- Buy a 6-mil poly tarp large enough to cover the damage plus 4-ft margins
- Secure tarp over the ridge and weight or nail the edges
- Use roof cement or caulk to temporarily seal small punctures or gaps
- Keep all receipts — temporary repair costs are reimbursable under most policies
- Avoid permanent repairs until the adjuster has inspected the damage
Getting the Right Contractor
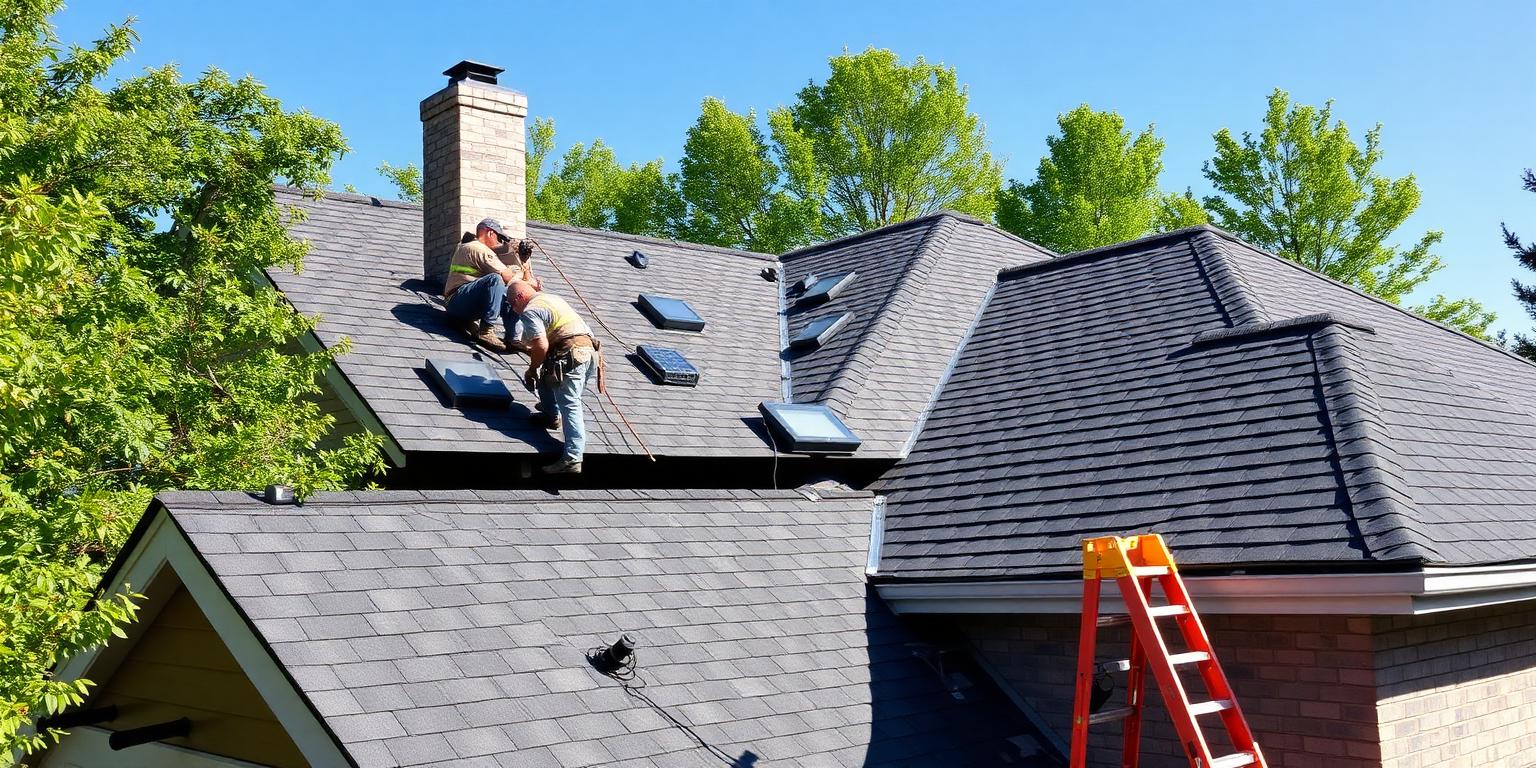
After major storms, out-of-town storm chasers flood the area. Many are unlicensed, uninsured, and disappear after collecting a deposit. In DuPage County, always verify that a contractor holds an active Illinois contractor's license and carries both general liability and workers' compensation insurance. Ask for their license number and verify it at the Illinois Department of Financial and Professional Regulation website.
Be very cautious of anyone who asks you to sign an Assignment of Benefits form immediately — this transfers your claim rights to them and removes your control over the settlement. A reputable contractor will give you a written estimate and work with your adjuster without requiring that assignment.
Hinsdale Roofing Pros only works with licensed, insured contractors local to DuPage County and surrounding communities. After an emergency, use our matching form to get connected quickly — day or night. A free inspection and estimate are the first step.
Get Local Roofing Help
Get matched with trusted, licensed roofing professionals in Hinsdale and DuPage County.